How to Grill Steak Without Thermometer Test: 5 Old-School Methods Pitmasters Still Use
The 2026 grilling season has brought an unexpected twist: as smart thermometers and WiFi-enabled probes flood the market, a counter-movement is gaining serious traction. Pitmasters across the competition circuit are publicly ditching their digital crutches, returning to sensory-based methods that don’t require batteries, Bluetooth pairing, or checking your phone mid-flip. Learning how to grill steak without thermometer test isn’t about being old-fashioned—it’s about developing instincts that make you a faster, more adaptable cook when technology fails or simply isn’t practical.
Whether your probe died mid-cookout, you’re camping off-grid, or you want to build the confidence that separates weekend dabblers from grill masters, these five methods will get you to perfect doneness without a single degree reading.
The Hand Touch Test: Your Built-In Reference Guide
The most reliable way to grill steak without thermometer test starts with your own palm. Professional cooks have used this method for generations because it works across different steak thicknesses and grill types.
Here’s exactly how to calibrate it:
- Raw/rare: Relax your hand completely and press the fleshy pad at the base of your thumb. That’s what rare steak feels like—soft, with almost no resistance.
- Medium-rare: Touch your thumb to your index finger, then press that same pad. Notice the slight tension? That’s the 130-135°F sweet spot most steak lovers chase.
- Medium: Thumb to middle finger creates firmer resistance, matching the 135-145°F range.
- Medium-well: Thumb to ring finger yields noticeably firm meat, around 145-155°F.
- Well-done: Thumb to pinky gives you the dense, unyielding feel of 160°F+ steak.
Practice this while your steak rests off the grill. Press the center gently with your index finger, compare to your palm, and you’ll nail it within 10 degrees consistently after just a few practice sessions.
Pro tip for 2026: The hand test actually improves with the thicker-cut trend dominating steakhouses this year. Those 1.5-2 inch bone-in ribeyes give you more surface area to assess, making the tactile feedback more obvious than with thin supermarket cuts.
The Face Test: An Alternative Tactile Method
If the hand method feels awkward while managing hot grates, the face test offers another built-in reference scale. This approach uses facial muscles as your comparison point:
- Rare: Press your cheek—soft, yielding, minimal spring-back
- Medium-rare: Press your relaxed chin—slight resistance with some give
- Medium: Press the tip of your nose—firmer but still with some flexibility
- Well-done: Press your forehead—minimal give, quite firm
The face test works particularly well for grillers who struggle to compare steak texture to their palm while wearing heat-resistant gloves. It’s also surprisingly accurate for differentiating between medium-rare and medium, the zone where most home cooks accidentally overshoot.
Visual Cues: Reading the Meat’s Surface Language
Experienced grillers develop an almost subconscious ability to read steak doneness through appearance. Here’s what to watch for as you learn to grill steak without thermometer test:
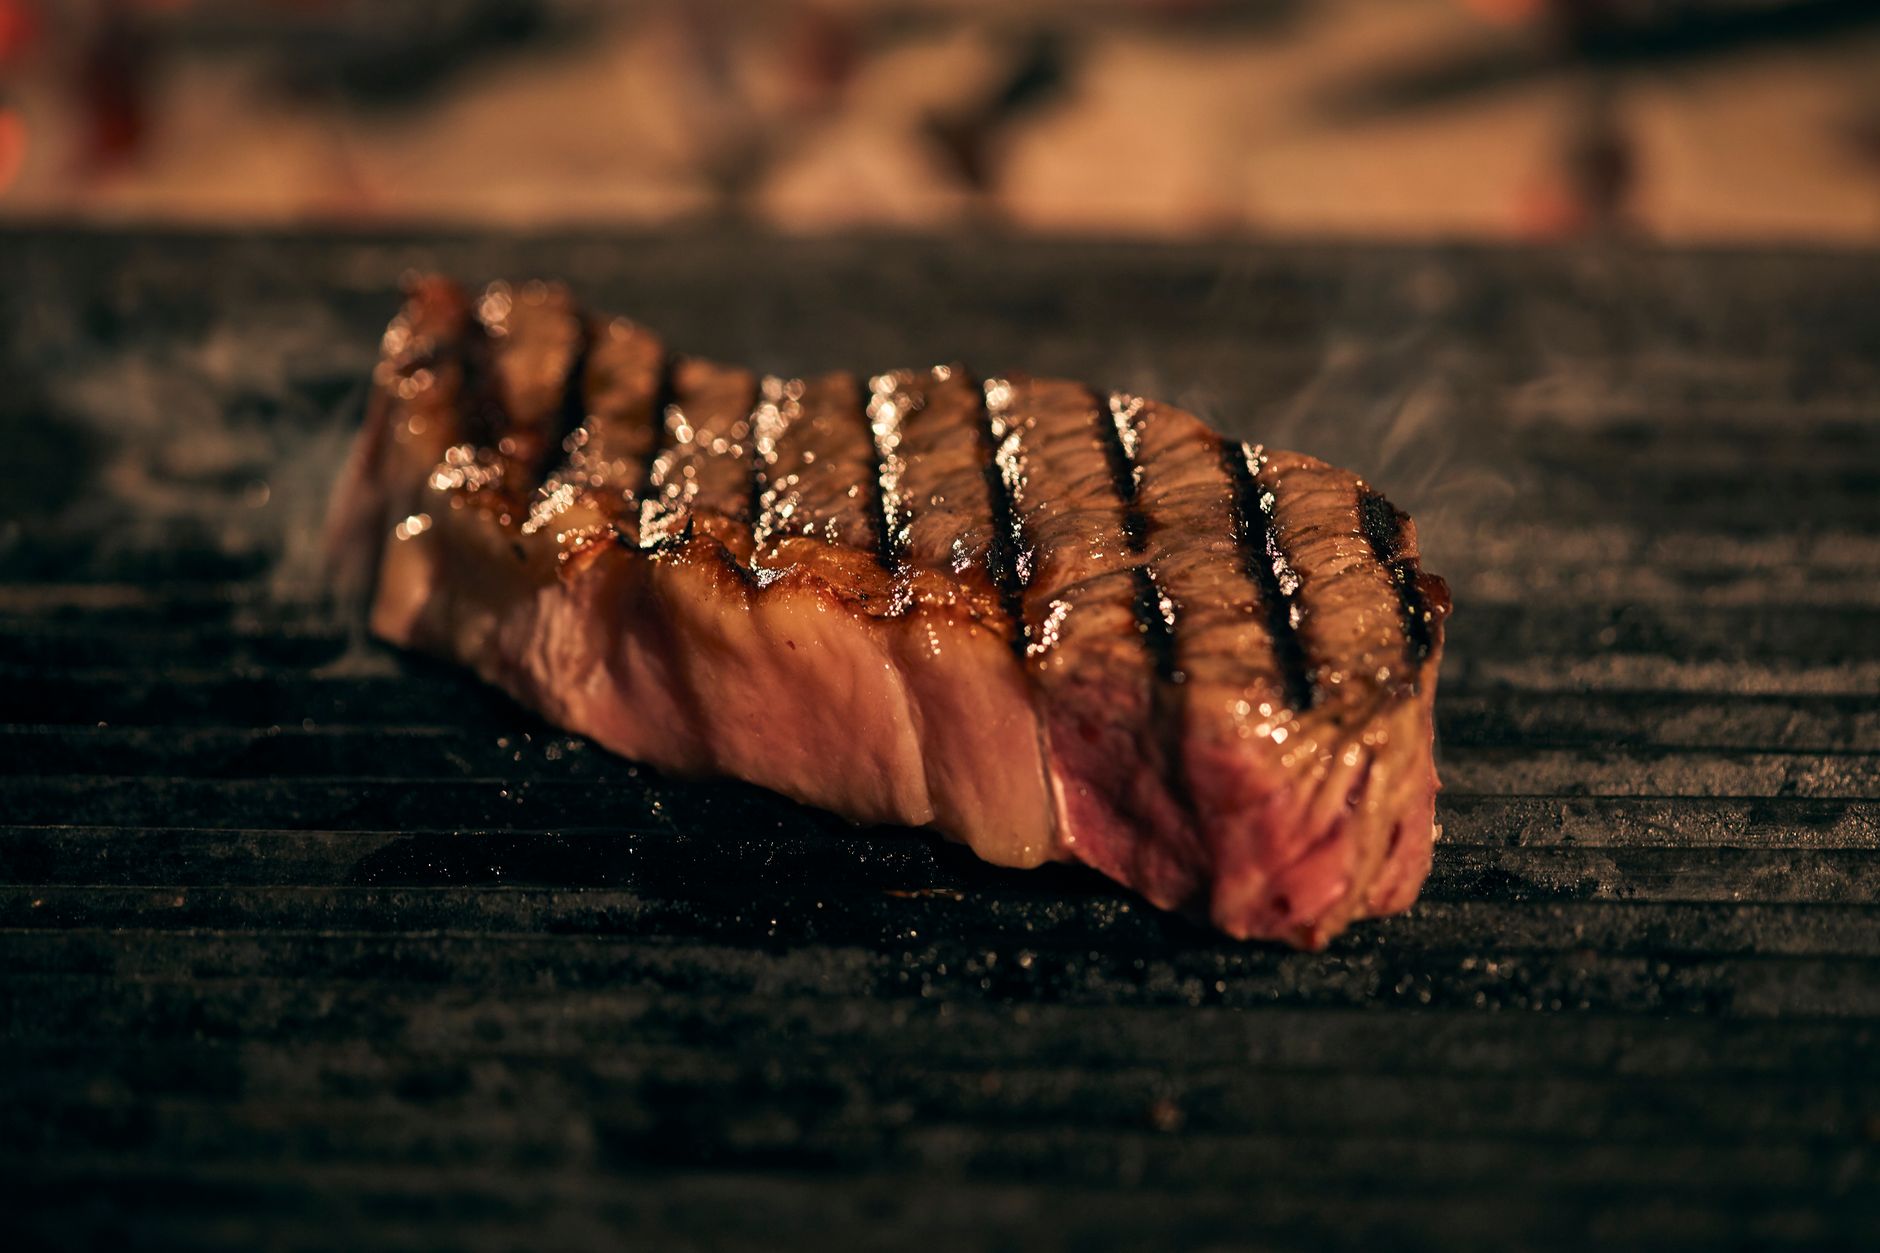
Color progression on the cut surface: When you first place steak on the grill, the top surface shows raw red. As heat penetrates, a cooked gray band rises from the bottom. For a 1-inch steak:
- Gray band reaches roughly 25% up = rare
- Gray band at 40% = medium-rare
- Gray band at 60% = medium
- Gray band nearly to top = medium-well
Juice behavior: This is where most amateurs get tripped up. Early in cooking, juices pool on the raw surface—this means the steak is still cold inside and pushing moisture out. When those surface juices start to dry up and the steak begins looking more matte, you’re approaching medium-rare. If juices start appearing again on the top surface (having been driven through the meat), you’ve likely hit medium or beyond.
Shrinkage and shape: Steak contracts as muscle fibers tighten. A 1-inch steak will shrink about 10% in thickness by medium-rare, 15% by medium. The center will also begin to bulge slightly as edges tighten—this “doming” is your visual cue that the interior is hot enough to expand.
The Time-Per-Thickness Formula for Consistent Heat
While timing alone is notoriously unreliable due to grill temperature variations, combining it with thickness measurements creates a surprisingly accurate system. This method has resurged in 2026 as more grillers invest in infrared thermometers to check grate temperature rather than meat temperature.
For a grill holding steady at 450-500°F (medium-high, where most steaks should cook):
| Thickness | First Side | Flip | Second Side | Expected Doneness |
|---|---|---|---|---|
| ¾ inch | 3 minutes | 1 minute rest off heat | 2 minutes | Medium-rare |
| 1 inch | 4 minutes | 1 minute rest off heat | 3 minutes | Medium-rare |
| 1½ inches | 5 minutes | 2 minutes rest off heat | 4 minutes | Medium-rare |
Critical adjustments: Add 1 minute per side for each additional doneness level. Subtract 30 seconds per side if cooking over 550°F. Add 1 minute total if your steak went straight from refrigerator to grill—room temperature starting points are assumed above.
The “rest off heat” step is non-negotiable. Moving the steak to a cooler zone or plate during flipping allows carryover cooking to even out temperature gradients without overshooting your target.
The Cake Tester or Metal Skewer Trick
Here’s a method borrowed from high-end restaurant kitchens that requires minimal equipment: a simple cake tester, thin metal skewer, or even a straightened paperclip.
Insert the probe into the steak’s thickest section, hold for 3 seconds, then touch it to your wrist or just below your lower lip:
- Cold or barely warm = rare (interior below 120°F)
- Distinctly warm, comfortable to hold = medium-rare (125-130°F)
- Hot, can only hold briefly = medium (135-140°F)
- Very hot, immediately uncomfortable = medium-well or beyond
This works because metal conducts heat efficiently from the steak’s interior core. The 2026 innovation? Some competition cooks now carry pre-chilled probes (stored in ice water) to get even more sensitive readings on the low end, detecting the precise moment rare transitions to medium-rare.
For best results, insert at a slight angle toward the center, avoiding fat pockets or bone which conduct heat differently than muscle.
Building Your Calibration Confidence
The ultimate goal isn’t relying on one method but cross-referencing several until your instincts solidify. Here’s a practical progression:
- First 5-10 steaks: Use the time-thickness formula as your baseline, confirming with hand test and visual cues.
- Next 10-15 steaks: Lead with hand test, use timing as backup verification.
- Beyond 20 steaks: You’ll likely find yourself instinctively combining touch, appearance, and timing without conscious thought.
Document your results: Note thickness, grill temperature (measured at grates), time, method used, and actual outcome. Within one grilling season, most cooks develop accuracy within one doneness level without any thermometer.
Putting It All Together for Your Next Cookout
Mastering how to grill steak without thermometer test transforms you from a recipe-follower to an intuitive cook. The methods above aren’t compromises—they’re skills that existed before digital probes and will outlast whatever app-connected gadget launches next summer.
Start with the hand test for your next ribeye or strip. Add visual cues as you gain confidence. Layer in timing once you understand your grill’s personality. Before long, you’ll read steaks the way you read weather: through accumulated sensory experience rather than instruments.
The 2026 grilling season’s back-to-basics movement isn’t rejecting technology—it’s building foundational competence that makes technology optional rather than dependent. Your steak, your rules, your perfectly calibrated instincts.