How to Season a Blackstone Griddle for the First Time: The Complete Guide
There’s nothing quite like the moment you unbox a brand-new Blackstone griddle. The cold-rolled steel cooking surface gleams under the sunlight, full of promise for smash burgers, sizzling fajitas, and breakfast spreads that would make a diner jealous. But before you even think about throwing on a single strip of bacon, you have to tackle the most critical step in your griddle’s life: learning how to season a Blackstone griddle for the first time. Skip it, or do it half-heartedly, and you’ll be fighting rust and sticky food for years. Nail it, and you’ll unlock a naturally non-stick, rust-resistant cooking surface that only gets better with every meal.
This isn’t a quick wipe-down with oil. First-time seasoning is a deliberate, heat-driven process that bonds oil to the steel at a molecular level, creating a hard, protective patina. I’ve guided dozens of friends through this ritual, and once you understand why each step matters, it becomes second nature. Let’s walk through everything you need to know to season your new griddle the right way, from the science behind the sizzle to the exact tools you’ll grab from your kitchen.
Why Seasoning Your Blackstone Griddle Is Non-Negotiable
When you season a Blackstone griddle for the first time, you’re not just adding flavor—you’re building a shield. Raw carbon steel is porous and highly reactive to moisture. Left unprotected, it will start to flash rust within hours of being exposed to humidity or a splash of water. Seasoning solves that by transforming a thin layer of cooking oil into a hard, plastic-like polymer that seals the surface shut.
The magic happens when oil is heated past its smoke point. The fatty acid chains break down and re-form into a cross-linked polymer bond that adheres to the steel. This layer fills microscopic pores, creating a slick, glassy finish that repels water and prevents food from sticking. Every time you cook with fat afterward, you reinforce that layer. If you’ve ever wondered why a well-used griddle looks dark, almost black, and releases eggs like they’re on ice skates, that’s years of built-up seasoning. But it all starts with that initial foundation. A properly seasoned Blackstone will survive rain, snowy winters, and back-to-back cookouts without turning into a rust bucket.
What You’ll Need for First-Time Seasoning
Gather these items before you fire up the burners. Most are already in your pantry, which is one of the beauties of flat-top cooking.
- High-smoke-point oil: Canola oil, vegetable oil, grapeseed oil, or flaxseed oil. I reach for canola because it’s affordable, neutral, and has a smoke point around 400°F—perfect for building durable layers. Avoid extra virgin olive oil (smoke point too low) and butter (milk solids burn).
- Paper towels or lint-free rags: You’ll be spreading oil in whisper-thin layers. Lint-free cloths like old cotton t-shirts work best; paper towels can leave tiny fibers, but they’re fine if you’re careful.
- Long-handled tongs: To hold the oiled cloth safely away from your hands.
- Heat-resistant gloves: The griddle surface will hit 500°F or more. Grill gloves or welding gloves save your knuckles.
- A metal spatula or scraper (optional): Helpful if you need to knock off any factory residue before you begin, though most new Blackstones come with a protective coating that washes off with soap and water.
- Dish soap and water: Only for the very first cleaning. After that, soap never touches the seasoned surface again.
Step-by-Step: How to Season a Blackstone Griddle for the First Time
This process takes about an hour, and you’ll be rewarded with a deep bronze-to-black surface that’s ready to cook on immediately. Follow these steps exactly, and don’t rush the repeating layers.
1. Wash Off the Factory Coating
New Blackstone griddles ship with a thin coat of oil or wax to prevent rust during transit. That coating is not seasoning. Scrub the entire surface with warm, soapy water and a sponge or nylon brush. Rinse thoroughly and dry with a clean towel. This is the only time you’ll intentionally introduce soap to your griddle—make it count.
2. Heat the Griddle Until It Discolors
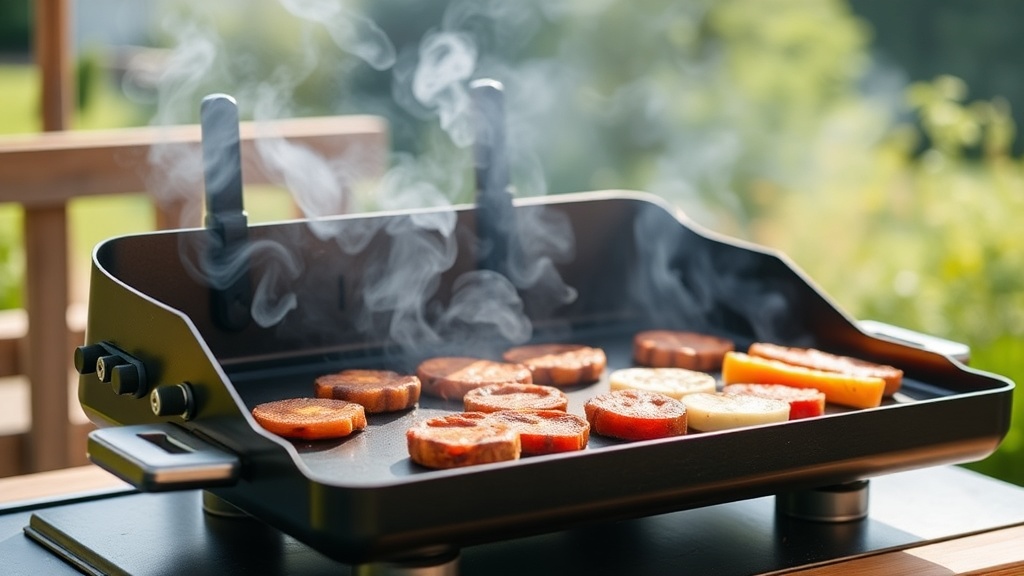
Turn all burners to high and let the griddle heat up for 10 to 15 minutes. You’ll notice the steel start to change color: first a golden straw hue, then deep blue and purple tones. This is normal heat oxidation and a sign the metal is opening up to accept oil. If your griddle has a built-in thermometer, you’re aiming for a surface temperature between 400°F and 500°F. Don’t panic if you see a little smoke; it’s just any remaining manufacturing residue burning off.
3. Apply the First Thin Layer of Oil
When the surface is screaming hot, pour about 1 tablespoon of your chosen oil directly onto the griddle. Using tongs to grip a folded paper towel or rag, spread the oil evenly across the entire cooking area, including the side walls and back lip. Thin is the goal. You want a barely-there sheen, not a puddle. Excess oil will turn into a sticky, gummy mess that you’ll have to scrape off later. If it looks wet, keep wiping until it looks almost dry.
4. Let It Smoke Until It Stops
This is where the polymerization happens. The oil will immediately start to smoke. Keep the burners on high and wait until the smoke subsides—usually 15 to 20 minutes for the first layer. You’ll see the surface darken and the oil lose its liquid shine. When the smoking stops, the layer has cured. If you see any rainbow-colored streaks or sticky spots, you used too much oil. Wipe them away with a dry cloth while the griddle is hot, then move on.
5. Repeat for 3 to 4 Additional Layers
After the first layer cures, apply another ultra-thin coat of oil and repeat the smoking process. Each subsequent layer builds thickness and durability. You’ll need at least three layers total; I always go for four on a brand-new griddle. By the final round, the surface should be a deep chocolate brown or even black. The edges near the burners might stay a bit lighter—that’s fine, they’ll darken with regular cooking.