Reverse Sear Steak on Charcoal Grill: The 2026 Guide to Edge-to-Edge Perfection
The steakhouse industry is having a moment right now — and not the good kind. With beef prices hitting record highs in late 2026 and high-end chophouses charging $70-plus for a ribeye, backyard grillers are taking matters into their own hands. The good news? The single most reliable method for steakhouse-quality results doesn’t require a $3,000 sous vide setup or a membership to a fancy steak club. It requires a charcoal grill, a little patience, and a technique called the reverse sear.
If you’ve ever pulled a gorgeous thick-cut steak off the grill only to slice into a bullseye of gray banding around a tiny pink center, reverse sear steak on charcoal grill is the fix. This method flips the traditional approach on its head: instead of searing first and finishing low, you cook the steak gently over indirect heat until it’s nearly done, then blast it over screaming-hot coals for a crust that would make a steakhouse chef jealous.
The result? Edge-to-edge rosy pink interior, a deeply caramelized crust, and total control over doneness. Here’s exactly how to do it.
Why Reverse Searing Works (The Science in 60 Seconds)
Traditional searing-first methods create a temperature gradient problem. When a cold steak hits a hot grill, the exterior overcooks before the center even warms up. That gray band under the crust? That’s meat that went past 140°F while you waited for the middle to catch up.
Reverse searing solves this by bringing the entire steak up to temperature slowly and evenly:
- Even cooking: Low, indirect heat (225–275°F) raises the internal temperature gradually, so the gradient from edge to center stays minimal.
- Better crust: The steak’s surface dries out during the slow cook, and dry surfaces brown faster and harder via the Maillard reaction.
- More forgiveness: Because you’re cooking to temperature, not time, you get a wider window to nail your target doneness.
- No resting required after searing: The gentle cook means juices stay distributed. Slice it right after the sear if you want.
One caveat: this method shines with steaks at least 1.5 inches thick — ribeyes, strip steaks, porterhouses, and thick sirloins. Thin steaks cook too fast to benefit.
Setting Up Your Charcoal Grill for Two-Zone Cooking
The two-zone fire is the engine of the reverse sear. You’re creating a hot side and a cool side on the same grill, giving you total control.
Here’s the setup for a standard kettle-style grill:
- Light a full chimney of charcoal (about 100 briquettes or the equivalent in lump). Wait until the coals are ashed over — roughly 15–20 minutes.
- Bank all the coals on one side of the grill, piled against the wall. This is your direct (hot) zone.
- Leave the other side completely empty. This is your indirect (cool) zone. Place a disposable aluminum pan here if you want to catch drips.
- Adjust your vents: Bottom vent about halfway open, top vent fully open and positioned over the indirect side. This pulls heat and smoke across the steak.
- Target grate temperature on the indirect side: 225–275°F. Use a grill thermometer or a leave-in probe — the built-in lid thermometer on most kettles reads the dome temp, which runs 20–30°F hotter than grate level.
For kamado-style grills, use a heat deflector plate for the indirect phase, then remove it and open the vents wide for the sear.
Pro tip for 2026: If you picked up one of the smart charcoal controllers that have flooded the market this year (think Flame Boss or ThermoWorks’ newer Billows fan), set it to hold 250°F on the indirect side. It makes the low-and-slow phase completely hands-off.
The Step-by-Step Reverse Sear Process
This is where the magic happens. Total time: 45–70 minutes depending on thickness.
Step 1 — Season early. Salt your steak generously with kosher salt at least 40 minutes before cooking (or up to 24 hours ahead, uncovered in the fridge). This dry-brine seasons deeply and dries the surface for a better crust. Add coarse black pepper right before grilling.
Step 2 — Cook indirect. Place the steak on the cool side of the grill, insert a leave-in thermometer probe into the thickest part, and close the lid. Cook until the internal temperature hits:
- 90–95°F for rare (final target 120°F)
- 100–105°F for medium-rare (final target 130°F)
- 110–115°F for medium (final target 140°F)
Pull the steak 10–15°F below your final target — carryover heat during the sear will finish the job. For a 2-inch ribeye, expect 30–45 minutes on the indirect side.
Step 3 — Rest briefly, then fire up. Pull the steak off and tent loosely with foil. Now stoke the coals: add a half-chimney of fresh lit charcoal to the hot side, open the bottom vent fully, and let the grill get ripping hot — 500°F+ at the grate. This takes 5–10 minutes.
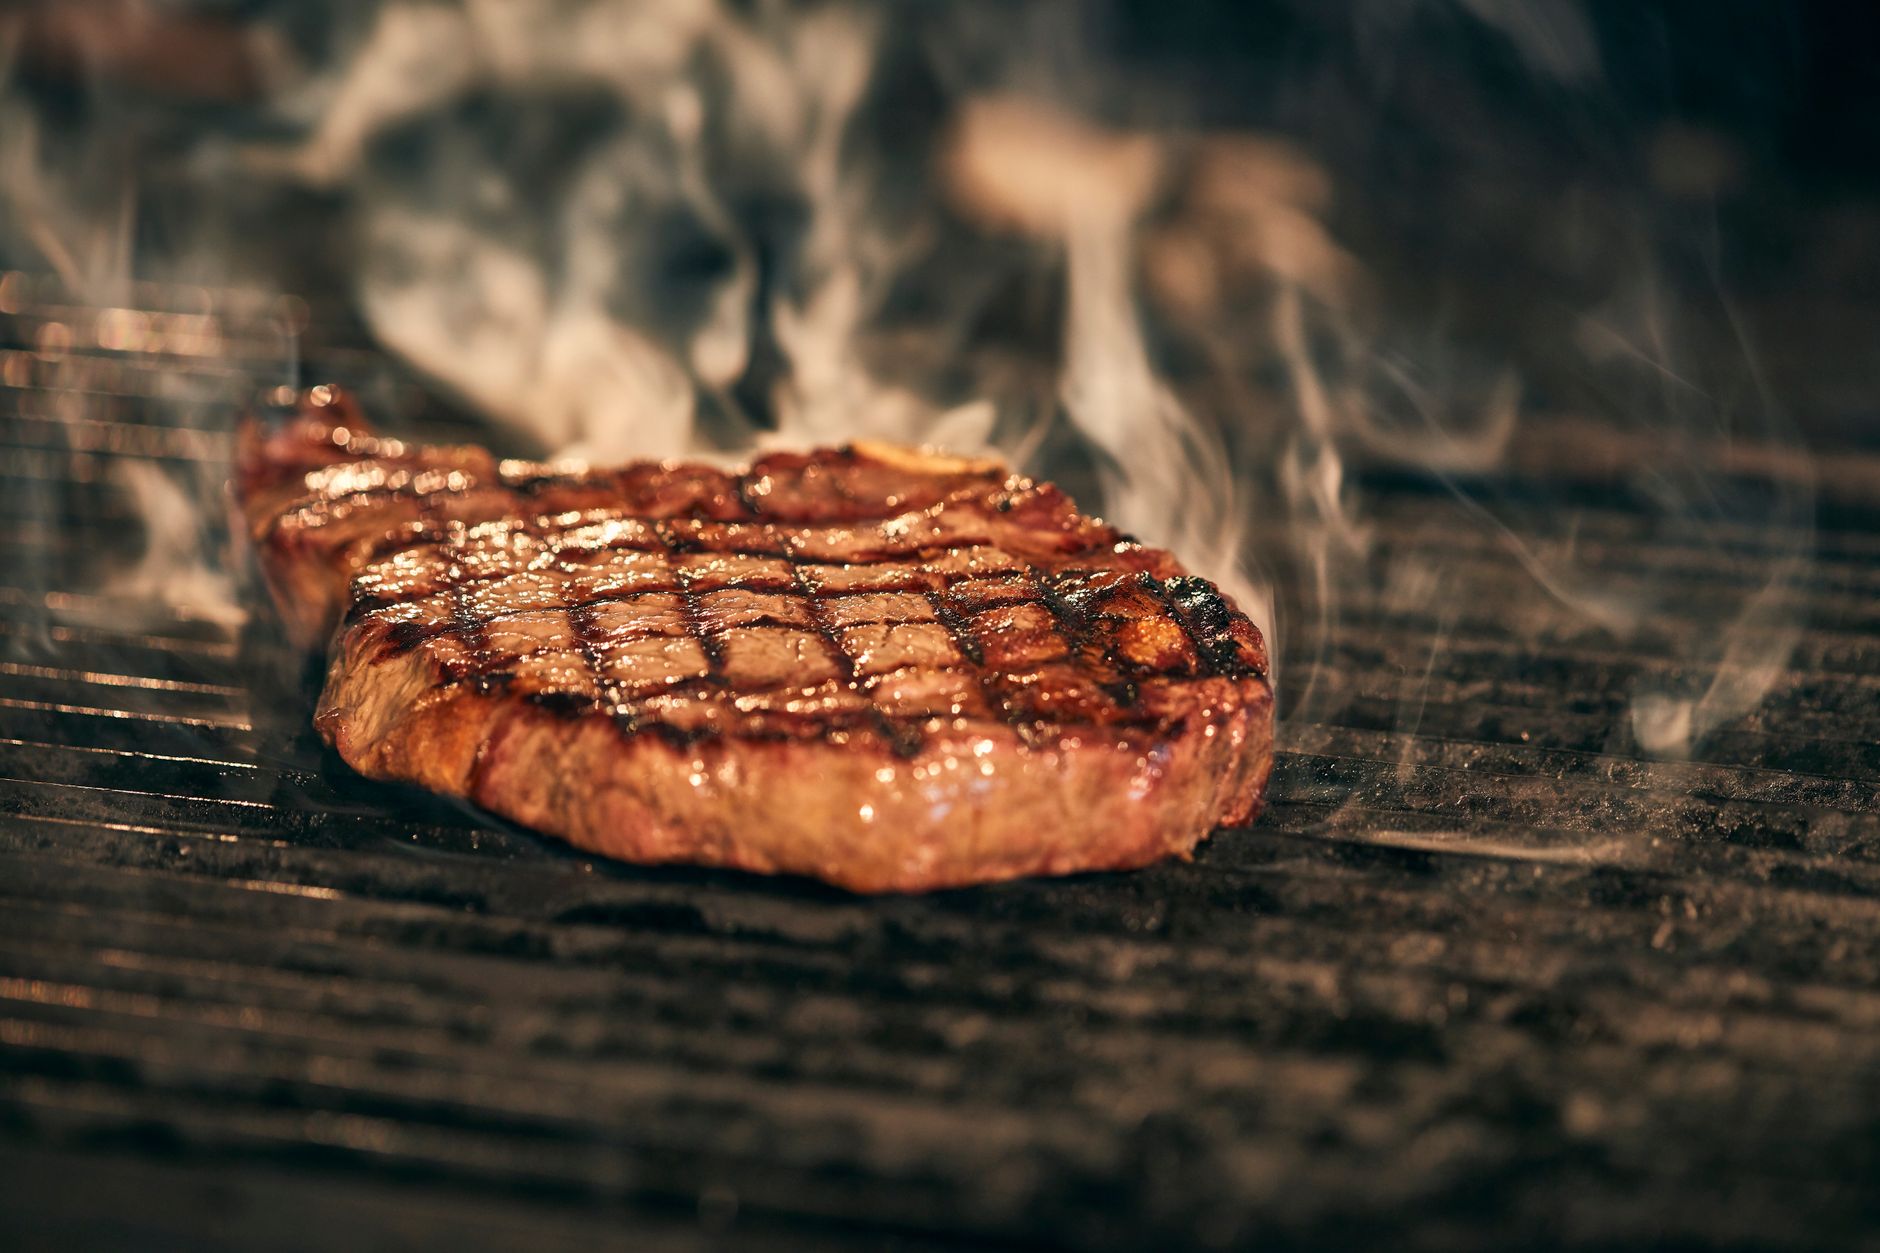
Step 4 — Sear hard and fast. Place the steak directly over the hottest coals. Sear 60–90 seconds per side, flipping every 30–45 seconds for even crust development. For crosshatch marks, rotate 45 degrees halfway through each side’s first flip. If flare-ups happen, move the steak briefly — but a dry-brined, slow-cooked steak drips less, so flare-ups are rare.
Step 5 — Finish with butter (optional but recommended). During the last 30 seconds, drop a knob of compound butter on top and let it melt over the crust. Garlic-herb or smoked blue cheese butter are both trending hard right now.
Step 6 — Slice and serve. No long rest needed. Slice against the grain and serve immediately.
Common Mistakes That Ruin a Reverse Sear
Even experienced grillers stumble on these. Avoid them and you’re ahead of 90% of backyard cooks:
- Searing over lukewarm coals: The sear needs to be violent. If your coals have burned down, add fresh lit charcoal. A weak sear means a sad, steamed-looking crust.
- Guessing doneness: The touch test is fine for thin steaks, but a $40 tomahawk deserves a thermometer. Instant-reads like the Thermapen ONE pay for themselves in one saved steak.
- Skipping the dry surface: Pat the steak dry with paper towels before it goes on, even after dry-brining. Moisture is the enemy of crust.
- Overcrowding the indirect side: Cook one or two steaks at a time. A crowded grill drops the ambient temp and extends cook times unpredictably.
- Using lighter fluid: Just don’t. A chimney starter is $15 and your steak won’t taste like a gas station.
Leveling Up: Smoke, Wood, and Flavor Boosts
Once you’ve nailed the basic reverse sear steak on charcoal grill, these upgrades add serious depth:
- Add a wood chunk (oak, hickory, or cherry) to the coals during the indirect phase for a whisper of smoke. Steak doesn’t need heavy smoke — 20–30 minutes of light exposure is plenty.
- Try the “cold grate” sear: Sear on a cast iron grate or plancha placed directly over the coals for maximum contact and an all-over crust instead of grill marks.
- Finish with flaky salt: Maldon or smoked finishing salt right before slicing adds texture and a final flavor pop.
- Baste with beef tallow instead of butter for a pure, beefy crust — a trick borrowed from Brazilian churrascarias that’s gaining traction in American BBQ circles this year.
Conclusion: Your Best Steak Is One Fire Away
Reverse sear steak on charcoal grill isn’t a gimmick — it’s the most reliable path to a steak that rivals anything you’d pay $70 for at a restaurant, and it’s achievable with the kettle grill you already own. Set up a two-zone fire, cook low and slow to 10–15°F below your target, then sear over blazing coals for a minute per side. That’s the whole formula.
With beef prices where they are in 2026, every steak you cook deserves this level of care. Fire up the chimney this weekend, grab a thick ribeye, and taste the difference that patience and good fire management make. Once you go reverse sear, you’ll never grill a thick steak the old way again.