Reverse Sear Steak on Gas Grill: The 2026 Method for Steakhouse Crust at Home
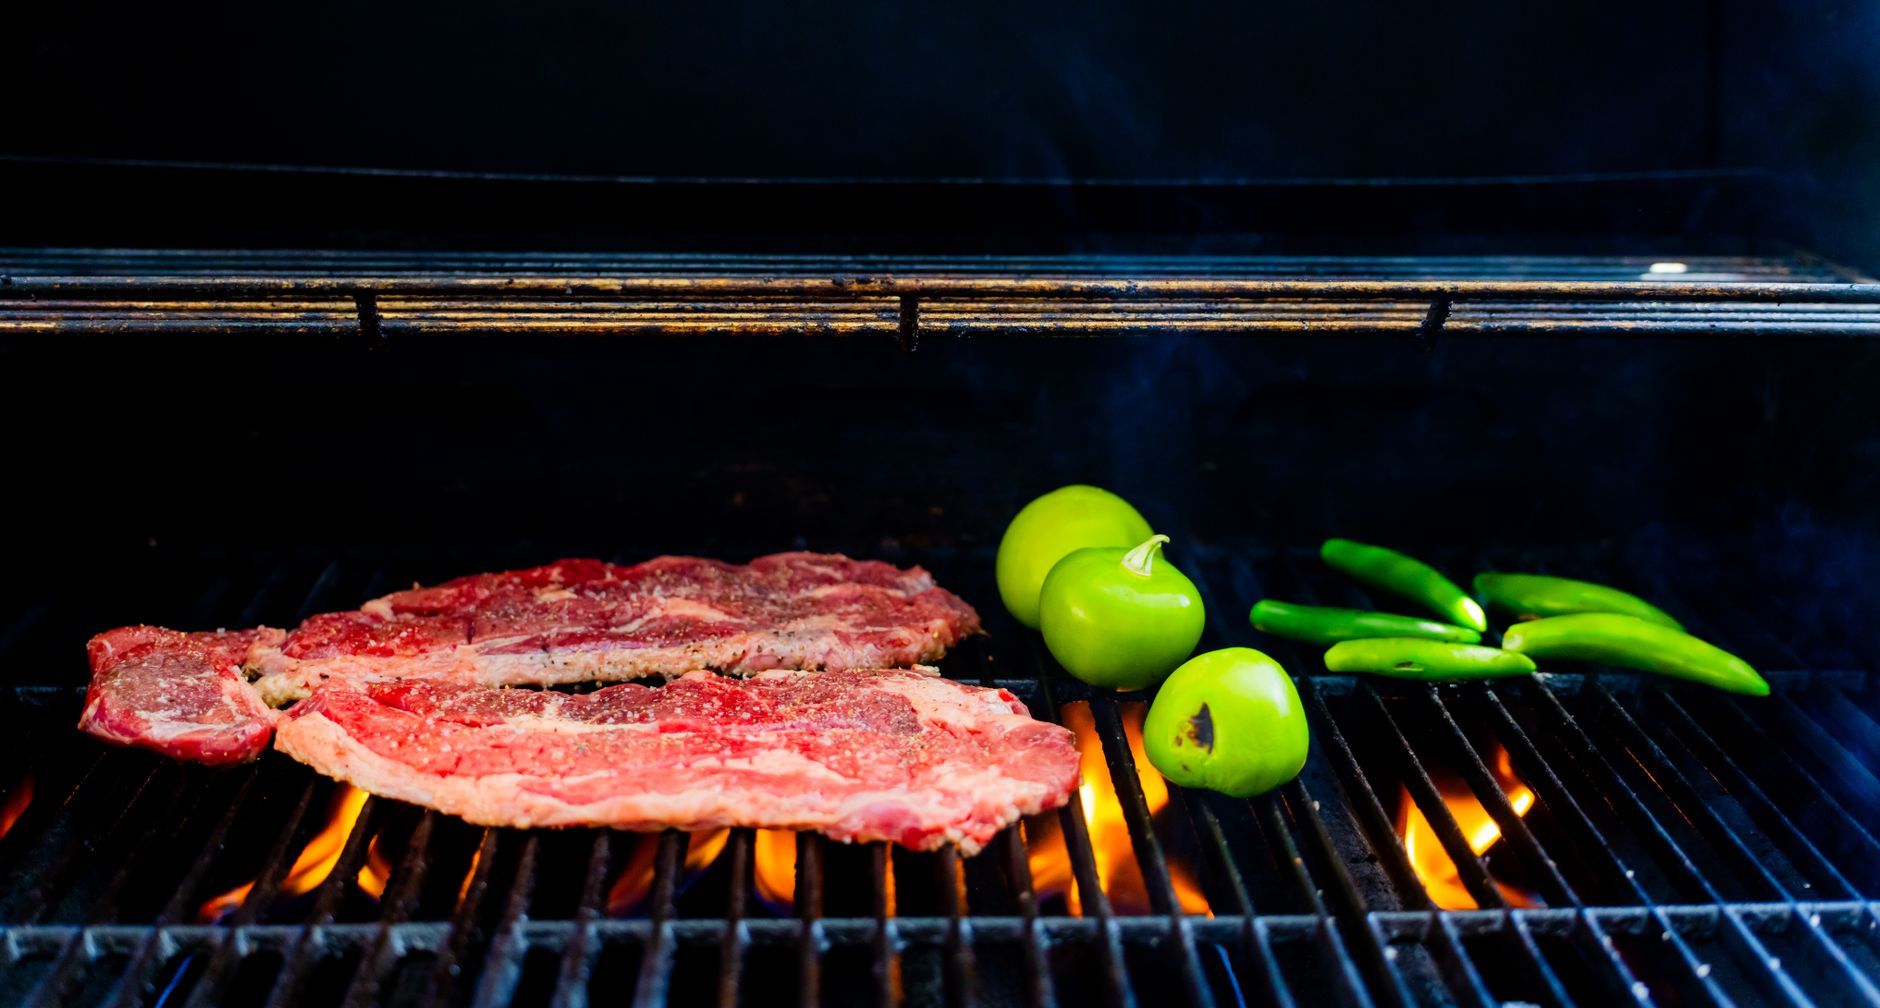
Steak prices hit record highs again this summer, and with a good ribeye now pushing $20 a pound at most grocery stores, nobody can afford to mess one up. That’s exactly why the reverse sear has become the technique grillers are obsessing over in 2026 — it takes the guesswork out of expensive cuts. If you’ve been burning the outside while the inside stays cold and gray, learning to reverse sear steak on gas grill setups will change your backyard game permanently.
The concept flips traditional grilling on its head. Instead of searing first and finishing low, you cook the steak gently over indirect heat until it’s almost done, then blast it with high heat for a crust that rivals any steakhouse. The result? Edge-to-edge pink, zero gray band, and a crust so good you’ll hear it crackle when you slice in.
Here’s the complete method, dialed in specifically for gas grills.
Why Reverse Sear Works Better on Thick Cuts
Traditional high-heat grilling works fine for thin steaks — a one-inch sirloin doesn’t need much finesse. But once you cross into 1.5-inch territory and beyond, direct heat becomes your enemy. The exterior chars long before the center climbs past refrigerator temperature, leaving you with a burnt crust wrapped around a raw middle.
The reverse sear solves this by treating the cook in two distinct phases:
- Phase one (the gentle climb): Indirect heat at 225–275°F slowly brings the internal temperature up evenly. No hot spots, no flare-ups, no stress.
- Phase two (the crust): A short, violent sear over maximum direct heat creates the Maillard reaction — that deep brown, savory crust — in 60 to 90 seconds per side.
Because the steak’s surface dries out during the low-heat phase, it sears faster and harder than a wet, fridge-cold steak ever could. You get better crust and better interior. It’s not a compromise — it’s an upgrade on both ends.
Best cuts for this method: Ribeye, New York strip, porterhouse, tomahawk, and tri-tip. Anything 1.5 inches thick or more. Save your thin skirt and flank steaks for direct grilling — they don’t benefit from the reverse approach.
Setting Up Your Gas Grill for Two-Zone Cooking
This is where most gas grill owners either nail it or give up. The good news: if your grill has two or more burners, you already have everything you need.
For a two-burner grill:
- Turn one burner to low or medium-low.
- Leave the other burner completely off.
- Close the lid and preheat for 10–15 minutes.
- Your target ambient temperature inside the grill: 225–275°F.
For a three or four-burner grill:
- Light one outside burner on low.
- Leave the remaining burners off.
- Place the steak on the unlit side, as far from the active burner as possible.
- Adjust the lit burner until you stabilize in that 225–275°F window.
Every grill runs differently, so spend five minutes learning where your dials need to sit. A cheap oven thermometer placed on the indirect side gives you a far more accurate reading than the built-in lid thermometer, which is notorious for being off by 25–50°F.
Pro tip: If your grill has a smoker box or a foil packet of wood chips, toss it over the lit burner during the low phase. A light kiss of smoke during those 30–45 minutes adds a subtle depth you can’t get from a straight sear.
The Step-by-Step Reverse Sear Process
Here’s the exact sequence, start to finish. Total time: roughly 45–60 minutes for a 2-inch steak.
Step 1 — Season early. Salt your steak generously at least 45 minutes before cooking, or ideally the night before. Kosher salt and coarse black pepper are all you need. The salt penetrates the meat and dries the surface, which is critical for the crust.
Step 2 — Low and slow on the indirect side. Place the steak on the cool side of the grill. Close the lid. Insert a leave-in probe thermometer if you have one — and in 2026, wireless probes like the Meater 2 or ThermoWorks RFX have made this nearly foolproof. Cook until the internal temperature hits:
- 115°F for rare (final target: 120–125°F)
- 120°F for medium-rare (final target: 130–135°F)
- 130°F for medium (final target: 140–145°F)
This phase takes 25–45 minutes depending on thickness and grill temperature. Don’t rush it.
Step 3 — Rest briefly, then crank the heat. Pull the steak off and tent it loosely with foil. Turn all burners to maximum. Close the lid and let the grill get screaming hot — 500°F or more. This takes 5–10 minutes on most gas grills.
Step 4 — Sear hard and fast. Place the steak directly over the hottest burner. Sear 60–90 seconds per side, flipping once. If you want crosshatch marks, rotate 45 degrees halfway through each side. You’re not cooking the interior anymore — you’re building crust. That’s it.
Step 5 — Rest and slice. Rest the steak 5–8 minutes. Slice against the grain. The interior should be a wall of uniform pink from edge to edge with a thin, dark crust on the outside.
Common Mistakes That Ruin the Reverse Sear
Even with the right technique, a few pitfalls can sabotage your results.
Skipping the surface dry. If the steak goes on the grill wet — straight from the package or a wet marinade — it steams instead of sears. Pat it dry with paper towels before seasoning, and let the salt do its work during the low phase.
Searing too long. This is the most common error. People treat the sear like a second cook instead of a finishing move. At 500°F+, 90 seconds per side is the maximum. Any longer and you’ll blow past your target temperature and undo all that careful low-heat work.
Not using a thermometer. The touch test has its place, but for a $40 tomahawk, guessing is expensive. A reliable instant-read thermometer — or better yet, a leave-in wireless probe — removes all doubt. Pull the steak 10–15°F below your final target because carryover cooking during the sear will finish the job.
Crowding the sear zone. If you’re doing multiple steaks, sear them one or two at a time. Overloading the hot side drops the grate temperature and turns your sear into a sad, gray bake.
Leveling Up: Butter, Smoke, and Finishing Moves
Once you’ve nailed the basic reverse sear steak on gas grill method, a few upgrades take things further.
Compound butter finish. While the steak rests, drop a tablespoon of compound butter — garlic, herb, blue cheese, whatever you like — on top and let it melt into the crust. It adds richness and a glossy finish that looks straight out of a restaurant kitchen.
Reverse sear with a smoke boost. During the low phase, add a handful of cherry or oak wood chips in a smoker box over the lit burner. Thirty minutes of light smoke at 250°F gives the steak a subtle wood-fired character without overpowering the beef.
Flaky salt finish. After slicing, hit the steak with a pinch of flaky finishing salt — Maldon or Jacobsen work beautifully. The crunch and burst of salinity against the rich, warm interior is one of those small details that makes people stop mid-bite and ask what you did differently.
Your Next Steak Night Starts Here
The reverse sear isn’t a trend — it’s a fundamental technique that belongs in every gas griller’s toolkit, especially as premium cuts keep getting more expensive and the margin for error keeps shrinking. Once you reverse sear steak on gas grill equipment you already own, you’ll wonder why you ever did it any other way.
Start with a thick ribeye this weekend. Set up two zones, trust your thermometer, and keep that sear under 90 seconds per side. The first slice — that perfect wall of pink with a crackling dark crust — will make you a believer. Fire it up.