Summer BBQ Menu Planning for Beginners: The 3-Zone Method That Eliminates Grill Panic
The New York Times Cooking team just dropped their annual “Our Best BBQ Recipes” collection for 2026, and it’s already driving millions of home cooks toward their grills with ambitious plans. Here’s the problem: most of those recipes assume you know when to cook what, how to stagger your fire, and why your chicken always finishes twenty minutes after your burgers turn to hockey pucks. If you’re new to this, summer BBQ menu planning for beginners can feel like air-traffic control with a spatula.
I’ve been there. My first backyard cookout featured simultaneously raw sausages and carbonized vegetables, while guests made polite small talk about “the rustic charm of char.” The missing piece wasn’t better recipes—it was a system. Specifically, a way to organize heat, timing, and menu items so they work with your grill’s reality, not against it.
This is the 3-Zone Method, and it’s designed for people who want to host without the spiral.
The 3-Zone Method: Your Grill’s Secret Time-Management System
Forget “just throw everything on at 400°F.” Professional pitmasters think in zones, and beginners should too. Your grill has three functional areas whether you’re using gas or charcoal:
- Direct high heat (450-550°F): Searing zone for thin, fast-cooking items
- Medium indirect heat (300-375°F): Finishing zone for thicker proteins
- Low holding zone (200-250°F): Warming area for completed items
Here’s how this transforms your menu. When summer BBQ menu planning for beginners starts with zone assignment rather than recipe selection, you stop fighting physics.
The rule: No more than two items should demand your direct attention in the same zone at the same time. For a standard kettle grill or three-burner gas unit, that means your maximum active cooking load is roughly four items—two searing, two finishing. Everything else belongs in your low zone or your kitchen oven (set to 170°F, no shame in that).
Build Your Menu Backwards from 90 Minutes
Most BBQ disaster stories start with “I started the grill when guests arrived.” Reverse-engineer instead.
T-minus 90 minutes: Light charcoal or preheat gas. Prep sides that hold at room temperature (slaws, bean salads, cut vegetables).
T-minus 60 minutes: Start anything low and slow—ribs, chicken thighs, or dense vegetables like potatoes. These ride your medium indirect zone.
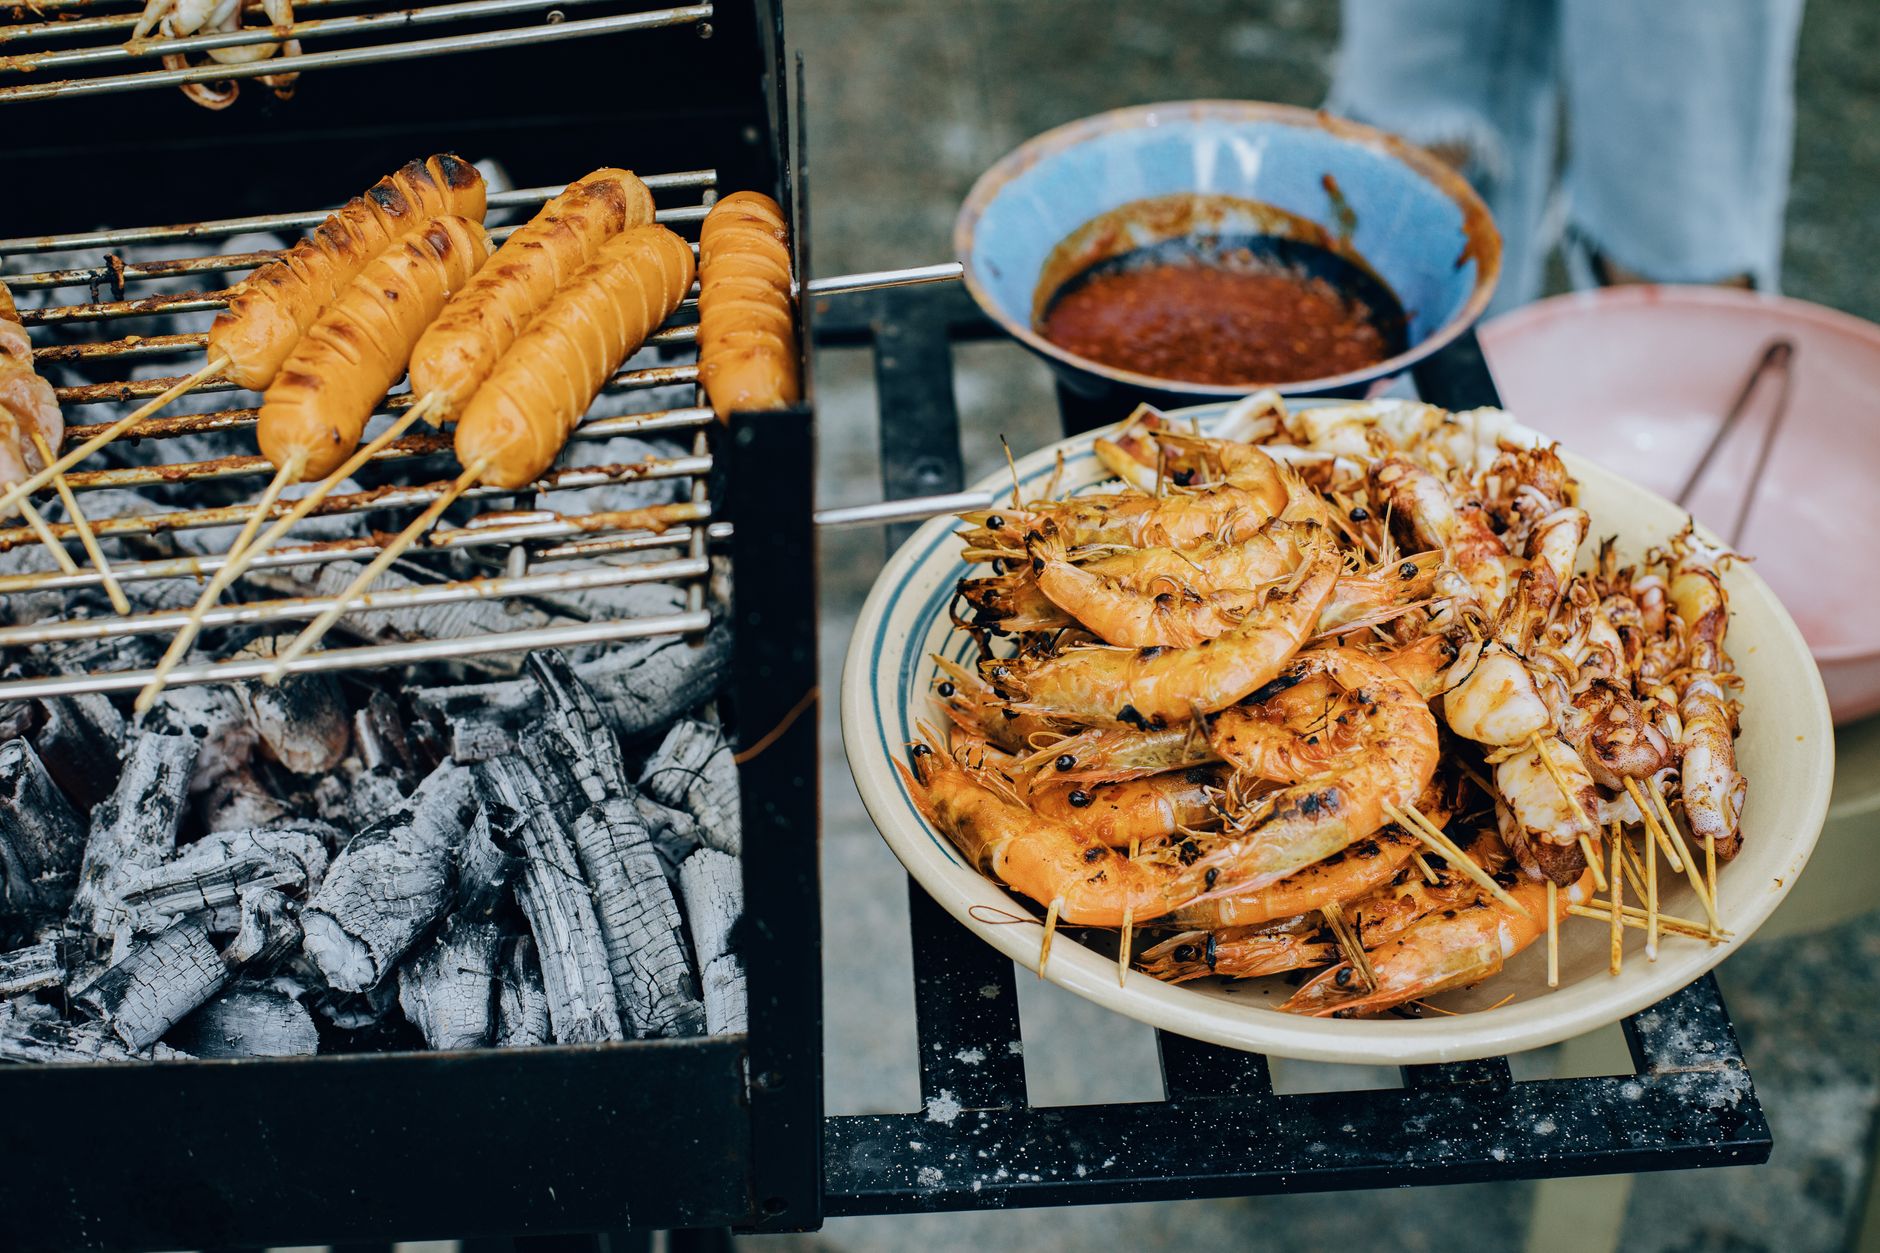
T-minus 30 minutes: Deploy your direct-sear items: burgers, hot dogs, thin steaks, shrimp skewers. These cook 3-5 minutes per side.
T-minus 10 minutes: Move finished items to your holding zone or kitchen oven. Rest proteins here.
T-minus 0: Guests arrive to a grill that’s already producing food, not a host who’s visibly sweating.
This timeline assumes 8-10 guests. Scale up? Add a second grill or shift more items to stovetop finishing (cast-iron griddle on your stove works for smash burgers while the grill handles everything else).
The “One Showstopper, Two Workhorses” Menu Rule
Beginners overreach. They see those NYT Cooking spreads with eight elaborate dishes and try to replicate the photography. Your actual guests want three things: something memorable, something familiar, and something they can assemble themselves.
Showstopper (1 item): The conversation piece. Maybe it’s a reverse-seared tri-tip, or grilled peaches with burrata, or those viral gochujang-glazed ribs you’ve been practicing. This gets your full attention and your best zone.
Workhorses (2 items): Reliable crowd-pleasers that forgive timing mistakes. Think beer-can chicken (indirect, nearly impossible to dry out), foil-packet corn with compound butter, or smash burgers (fast, consistent, people can build their own).
Assembly items (2-3 items): Bread, pre-made salads, chips with a dip you bought and transferred to a bowl. These require zero grill real estate.
This structure keeps your active cooking decisions to roughly five per hour. Decision fatigue is what burns food, not bad recipes.
The Prep Day That Saves Your Sanity
Here’s what separates smooth hosts from frantic ones: Thursday night work. Not Wednesday—don’t be a hero. Just the night before.
Do this:
- Mix any marinades or rubs (they’ll deepen overnight)
- Form burger patties, layer between parchment
- Wash and cut all vegetables, store in labeled containers
- Make any cold sauces or dressings
- Check propane levels or buy charcoal
Don’t do this:
- Pre-salt vegetables (they weep and steam instead of grill)
- Pre-mix delicate salads with dressing (soggy disaster)
- Start any cooking (reheated grilled food is depressing)
The goal is walking to your grill with everything in labeled containers, like a cooking show’s mise en place. It feels excessive until you’ve done it once. Then it feels like cheating.
Reading Your Grill Like a Thermometer, Not a Timer
Recipes lie about timing. “Grill 4-5 minutes per side” assumes your grill holds exactly 450°F, your patties are exactly ¾-inch thick, and you don’t lift the lid to check. None of this is true.
Buy two tools: an instant-read thermometer ($15) and a grill surface thermometer ($10). Use them like this:
- Burgers: 155°F internal, pull at 150°F (carryover cooking finishes them)
- Chicken thighs: 175°F internal (they’re forgiving; breasts are not)
- Pork chops: 145°F internal, then mandatory 3-minute rest
- Vegetables: Grill-marked and tender when poked; no thermometer needed, just honesty
The NYT Cooking BBQ collection features gorgeous photography of perfectly-cooked proteins. The path there runs through internal temperature, not clock-watching. This is the single skill that transforms summer BBQ menu planning for beginners from guesswork into repeatable success.
Your First 3-Zone Menu: A Complete Starter Template
For 8 guests, 90-minute timeline:
| Zone | Item | Timing |
|---|---|---|
| Medium indirect | BBQ chicken thighs, dry-rubbed | Start at T-60, finish T-15 |
| Medium indirect | Foil potatoes with garlic butter | Start at T-75, hold in kitchen |
| Direct high | Smash burgers (2 batches) | T-30 and T-20 |
| Direct high | Grilled corn, husks on | T-25 to T-15 |
| Low holding | Finished chicken, burgers | T-15 onward |
| Assembly | Buns, slaw, pickles, chips | Zero grill time |
This menu uses four active items across two zones, staggered so you’re never managing more than two things simultaneously. The slaw? Buy a bagged mix, add your own vinegar dressing in a bowl. The pickles? Straight from the jar to a ramekin. Your guests will remember the burgers and the relaxed host, not the provenance of the coleslaw.
Conclusion: The Grill Is a Tool, Not a Test
Summer BBQ menu planning for beginners stops being intimidating when you treat your grill as a system with constraints rather than a magic device that should “just work.” The 3-Zone Method gives you those constraints as guardrails. Zone your heat. Stagger your timeline. Limit your active items. Prep the night before. Measure temperature, not time.
The NYT Cooking team’s best BBQ recipes are absolutely worth exploring—once you have a framework that lets you execute them without panic. Start with this system. Host three cookouts this summer. By September, you’ll be the person casually grilling while holding a conversation, wondering why you ever stressed about any of this.
Your grill is ready. Your timeline is ready. The only thing left is to send the invite—and maybe buy that instant-read thermometer before Thursday.